Argyle Check
Argyle Check
Kit Contents
Kit Contents
- 2 sheets of gel nail strips (28pcs)
- Nail buffer
- Wooden stick
- 2 Alcohol swabs
Ingredients
Ingredients
UV gel, Polyarylate copolymer, Wood, ABS, Paper, Water
Return & Exchange
Return & Exchange
For hygienic reasons, returns due to change of mind are only accepted for unused items and must be requested within 14 days of delivery.If you have any questions about returns or refunds, feel free to reach out anytime via the chat button at the bottom left or email us at:💌 hello@uuuuuofficial.com
Bring a touch of timeless elegance to your style.
Easy to apply and perfect for any occasion, they’re the epitome of chic and sophistication.
How to apply

Prep Your Nails
Wash your hands and use the prep pad to make sure your nails are clean and dry.

Apply & Press
Choose the right size sticker and apply edge to edge. Press the edges firmly to make sure they adhere well to the nail.

Trim the Excess
Use any tool (Nail clippers, Nail file, Nail scissors) off the excess, make sure you leave some around the nail edge.

Cure with UV Lamp
Curing recommended 1-3 times with UV LED gel lamp * When the Gel nail is perfectly cured, it becomes sturdy, and shiny.

Final Touch
Use a nail file or nail clippers to neatly trim the edges of your nails.

You’re All Set!
All done! Now rock your stunning nails! * to increase shine and make it last longer, Add a topcoat. (1-3 cures recommended).


처음 여기에서 상품 구입했는데요 우선 만족입니당 디자인이 독특하고 예쁜데 적용시에도 불편감없이 잘 사용했습니다! 또 구입할게요


만우절 이벤트로 반값 세일해서 구매했는데 왠지 하자 있는 비급 제품을 반값에 산 것 같아요.. 큐빅은 떨어져 있고 프린팅도 문제가 있고요ㅜㅜ 그래도 한번은 할 수 있으니 반품 안하고 그냥 사용 중이지만 기분은 별로네요…
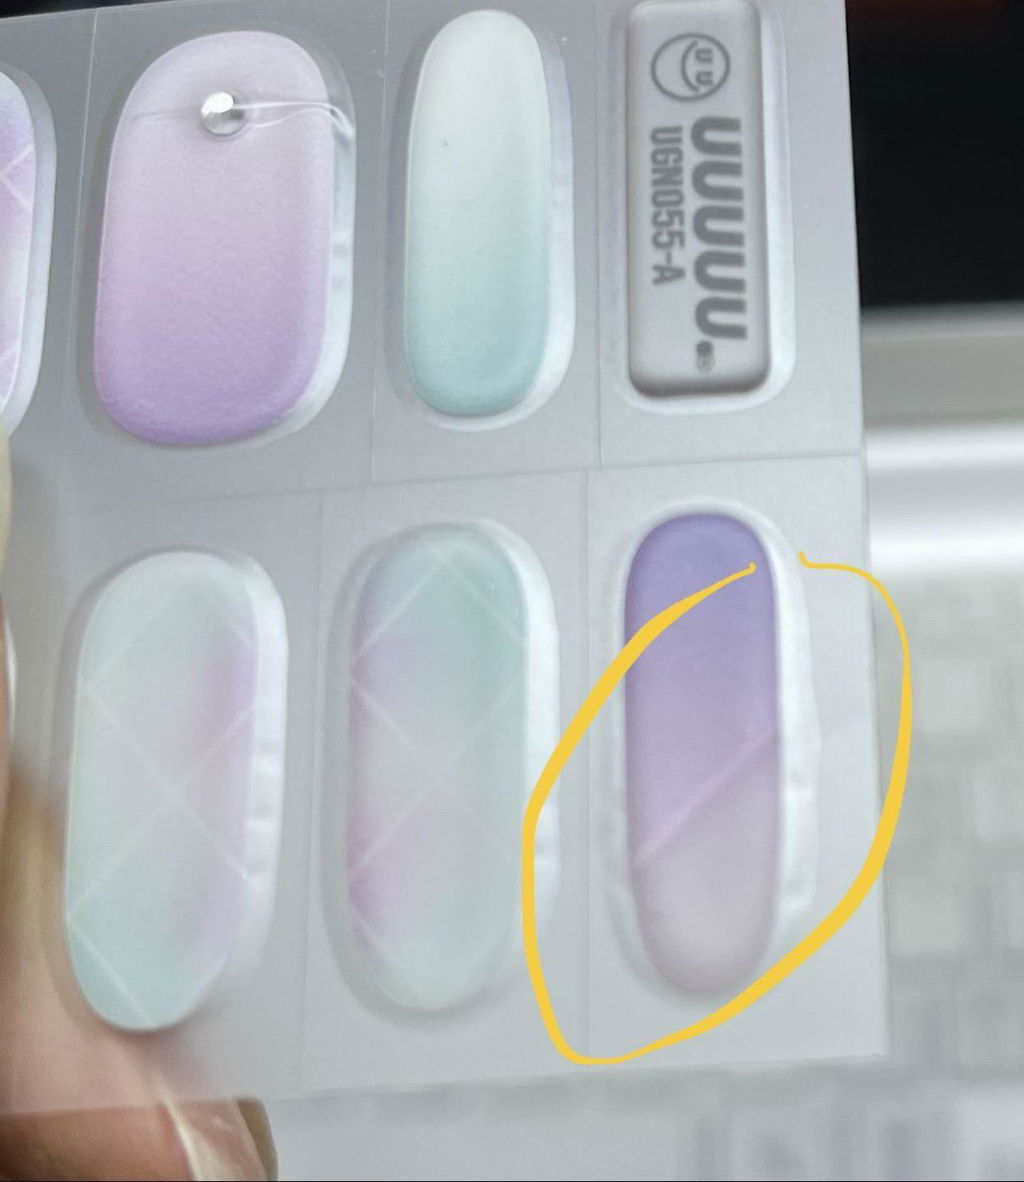
Great! It's amazing! (5 Stars ★★★★★ | Real auto review solution for UUUUU.)

초록색에 가까운 민트색인 줄 알았는데 화면보다 하늘색이에요. 뽀용한 색감이 예쁜 네일입니다. 연습만 열심히 해 보면 연장했을 때 예쁘고 여리여리해 보여요.
연장키트로 연장을 해 보았는데요, 가이드 동영상만 보고는 절때 쉽게 할 수 없을 것 같아요. 좀 더 상세한 설명이 필요해 보입니다.
해보면서 알게 된 저만의 팁은 영상처럼 올려놓고 한 번에 끝내는 게 아니라 조금씩 각도를 맞춰가며 10초씩 여러 번 굽는 거에요.
제 리뷰 두 번째 사진처럼 손톱 굴곡이 휜 사람은 손톱 끝나는 부분이 붕 뜹니다. 그래서 올려놓고 한번에 구우면 손톱 끝나는 부분의 단차가 생겨서 꺼지는 경계선이 보이게 됩니다. 제 손톱 휜 부분은 아래쪽인데 연장키트의 휘어지는 부분은 위쪽이라 각도가 잘 안 맞거든요.
그래서 연장 키트를 큐티클 라인보다 밑 쪽으로 맞춰서 단차가 생기지 않도록 "휘어진 부분이 평평하게 펴지도록" 각도를 맞춰서 꾹 눌러준 뒤 10초만 구우면 단차가 어느정도 없어져요. 그 다음 다시 연장키트로 옆 부분이 뜨지 않는 정도까지 맞춰준 뒤, 다시 큐티클라인 쪽으로 올려서 10초간 구워줍니다. 이렇게 다 구워졌다 싶으면 30초~1분간 단단하게 구워요.
참고로 가이드 동영상에 나온 손 모델은 손톱이 옆에서 봤을 때 일자이신 분인 것 같아요. 저처럼 두 번째 손톱이 갈고리처럼 휜 손톱은 올려놓고 한번에 끝내려면 단차도 생기고 옆 부분이 자꾸 뜨더라구요. 반면에 옆에서 봤을 때 각도가 일자였던 손톱은 한 번에 잘 됩니다.
그리고 동봉된 연습용 네일이 "완벽한" 쉐입이 나올 때 까지 연습하세요. 저처럼 연습 대충 한번 해보고 안 되서 비싼 네일 버리지 마시구요.. ㅠㅠ
처음 왔을 때 램프가 고장났는데, 빠른 대처로 바로 새걸로 교체해 주셨습니다. 사후대처도 좋네요! 감사합니다.

아가일 체크는 뽀얀 느낌이 강합니다. 엄마한테 해드렸어요. 함께 구입한 파우더도 얹었더니 독특합니다. 제 동영상 리뷰속 네일은 보호필름 걷어내기 전입니다. 걷어내면 훨씬 선명하고 영롱합니다 ^^
여기 디자인 진짜 예쁘고 젤 두툼해서 좋은디... 너무 빨리 떨어져요ㅠ 원래 ㅇㅎㄹ 사용했었는데 다시 돌아갈듯
디자인 완전 제 스탈..♡ 너무 이뻐요호홋..♡
📌 FAQ 👀
How do I apply the gel nail stickers correctly?
How do I apply the gel nail stickers correctly?
- Start with clean, dry nails and push back your cuticles.
- Choose the right size sticker for each nail.
- Apply the sticker from the cuticle area, stretch to the proper length and press firmly with the wooden stick.
- Trim and file if needed, then cure under a UV lamp for a long-lasting finish.
💡 Tip: Use an alcohol pad to remove any oils before application for better adhesion!
How do I remove the gel stickers without damaging my nails?
How do I remove the gel stickers without damaging my nails?
- Apply cuticle oil or soak your nails in warm water for a few minutes.
- Gently lift the edges with a wooden stick.
- Slowly peel off the sticker while massaging the nail with oil.
❌ Do not forcefully rip them off, as this may damage your nails!
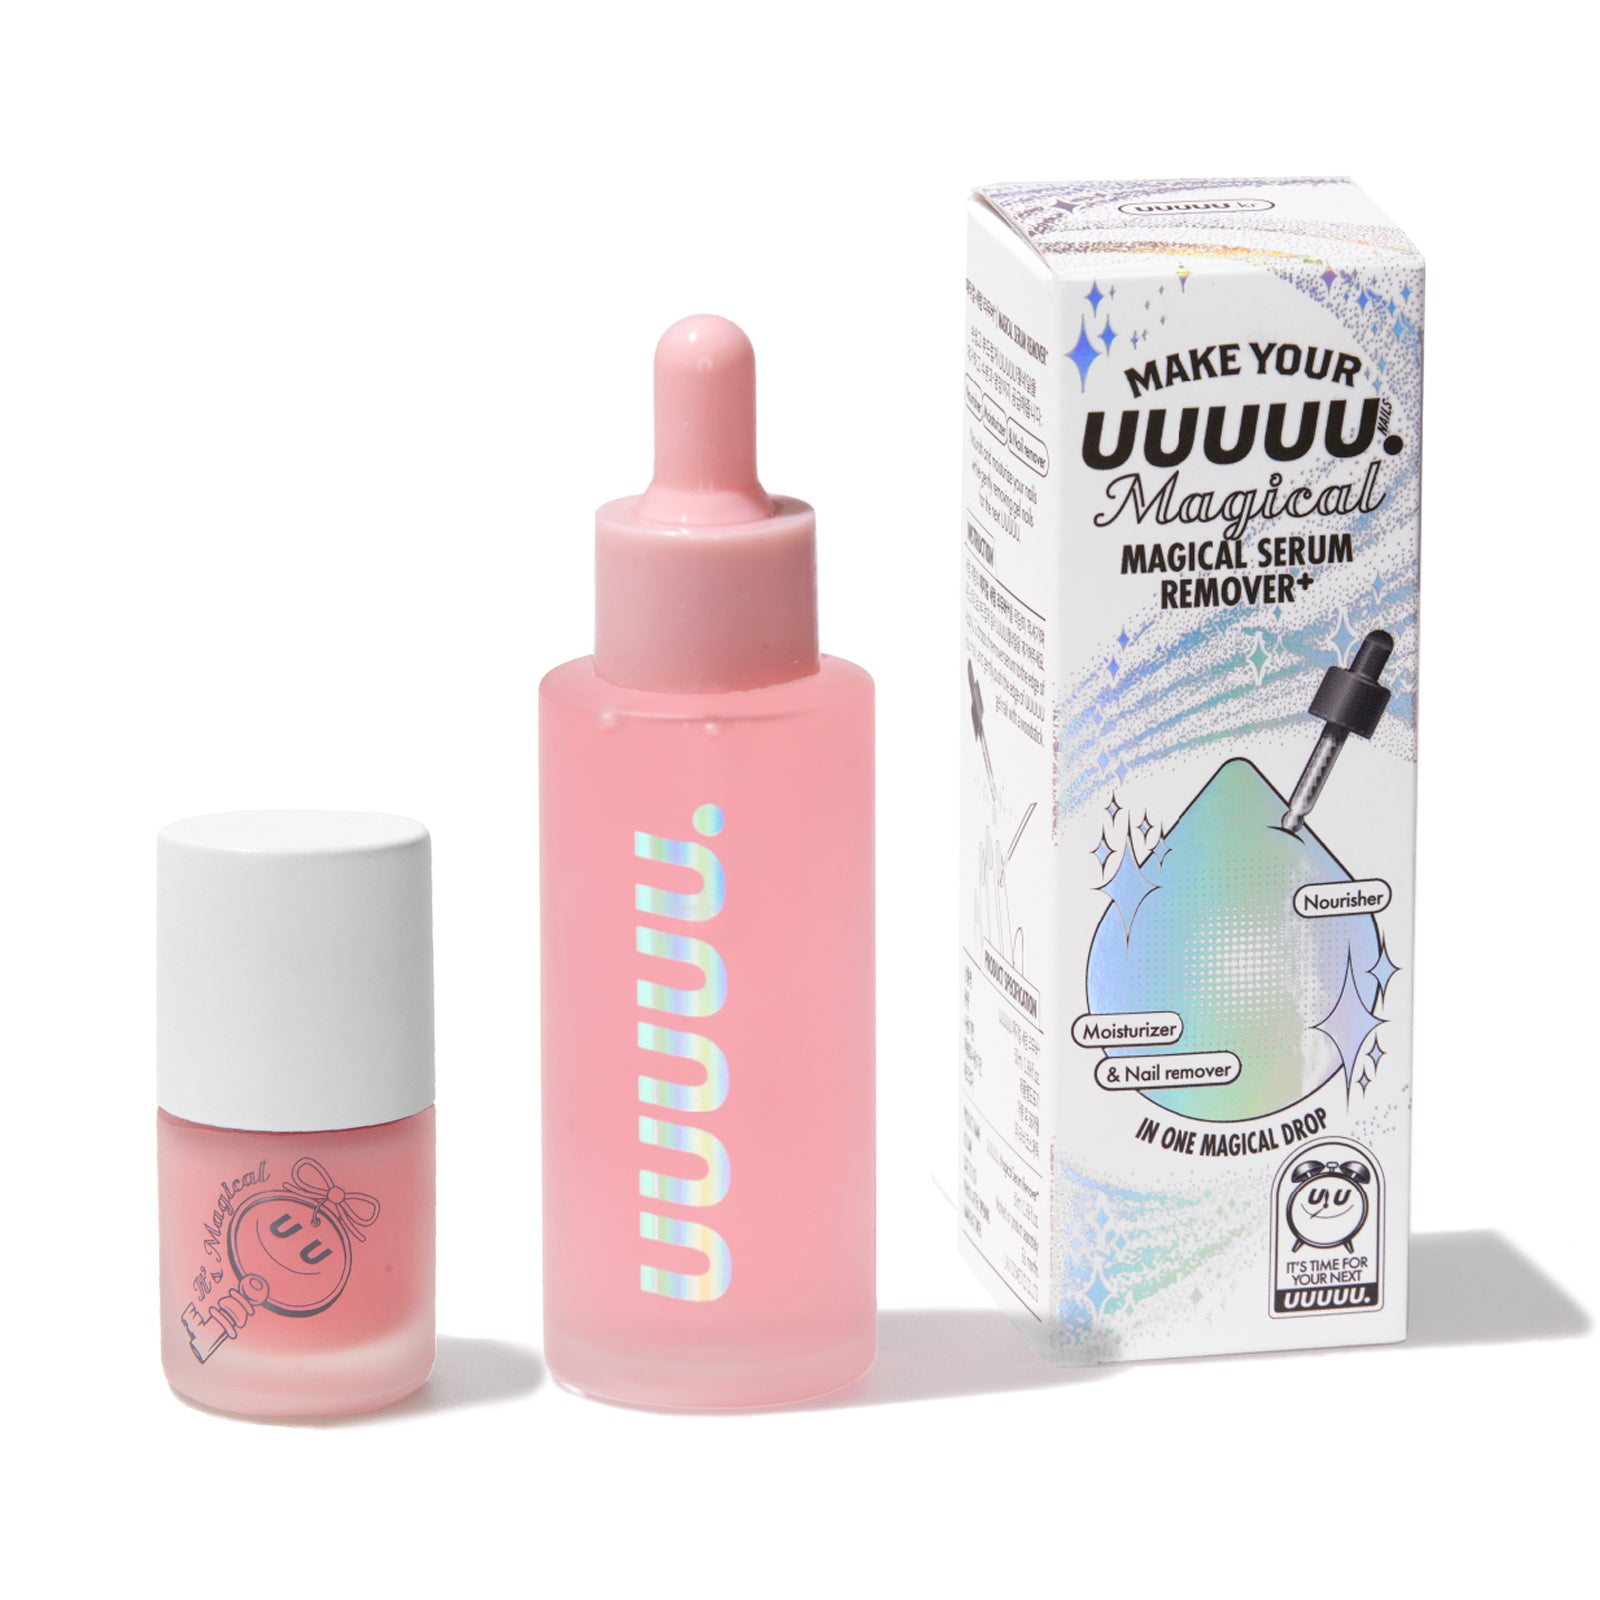
💡 Tip: Apply one drop of the UUUUU Magical Remover for an easier damage-free removal
How long do the gel stickers last?
How long do the gel stickers last?
- With proper application, they last 10-14 days.
- Using a UV lamp and top coat extends wear time.
- Avoid soaking your nails in water for long periods to maintain durability.
Can I reuse the gel stickers?
Can I reuse the gel stickers?
- No, they are designed for one-time use for the best adhesion and look.
Are the gel stickers safe for my nails?
Are the gel stickers safe for my nails?
- Yes! They are made with non-toxic, salon-quality materials.
- Unlike traditional gel nails, they don’t require buffing or drilling, so they won’t damage your natural nails.
Do I need a UV lamp?
Do I need a UV lamp?
- The stickers are 50% cured so you will need a UV lamp to get a glossy long-lasting finish
- However, please be careful when storing, as it is a Solar Curing Gel type that also hardens under sunlight!
Do I need to use a top coat?
Do I need to use a top coat?
- A top coat is optional, but it helps extend wear time and adds extra shine.
- If using a top coat, make sure to cure it under a UV lamp for best results.
Are the stickers waterproof?
Are the stickers waterproof?
- Yes! They are water-resistant and won’t peel off easily with daily activities.
- However, avoid prolonged soaking (e.g., hot baths, swimming) to maintain durability.
Do you ship internationally?
Do you ship internationally?
- Yes! We offer worldwide shipping.
- Shipping fees and delivery times vary depending on the destination.
Can I return or exchange my order?
Can I return or exchange my order?
- Due to hygiene reasons, we do not accept returns for opened products.
- If you received a defective or incorrect item, please contact our support team within 7 days of delivery: team@uuuuuofficial.com